Invoices1 min read
Send your first invoice
Choose your customer, add line items and send the invoice from AirBill.
Open Invoices and use the new-invoice action.
1. Add the customer and invoice details
Choose the customer and check their email and billing details. Set the invoice date, due date and any reference. Check your own company and payment details as well.
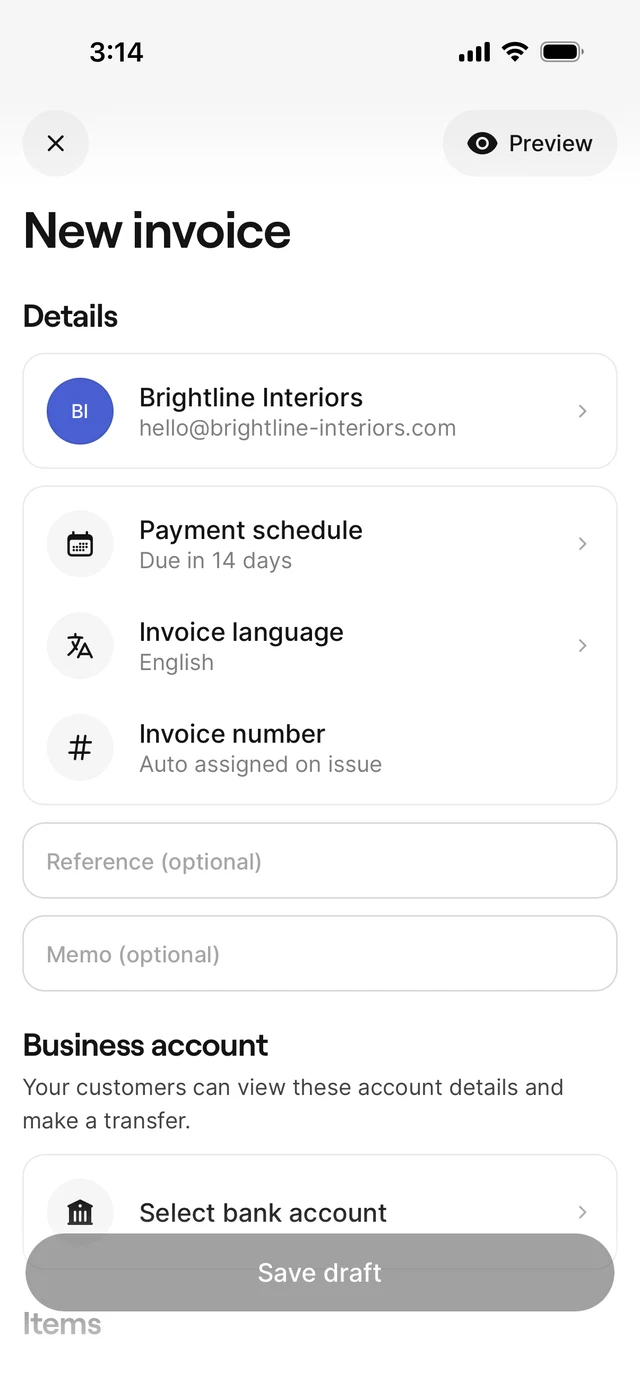
2. Add lines and save a draft
Add descriptions, quantities, prices and VAT. Review the totals and preview the invoice. Save the draft; saving alone does not send it to the customer.
3. Choose Send via AirBill
Open the draft and choose the sending action, then Send via AirBill. If prompted, activate your AirBill email address first. AirBill uses that address as the sender.
4. Review the email and confirm
Check recipients, subject and message before confirming. AirBill issues the draft and then attempts to send the email.
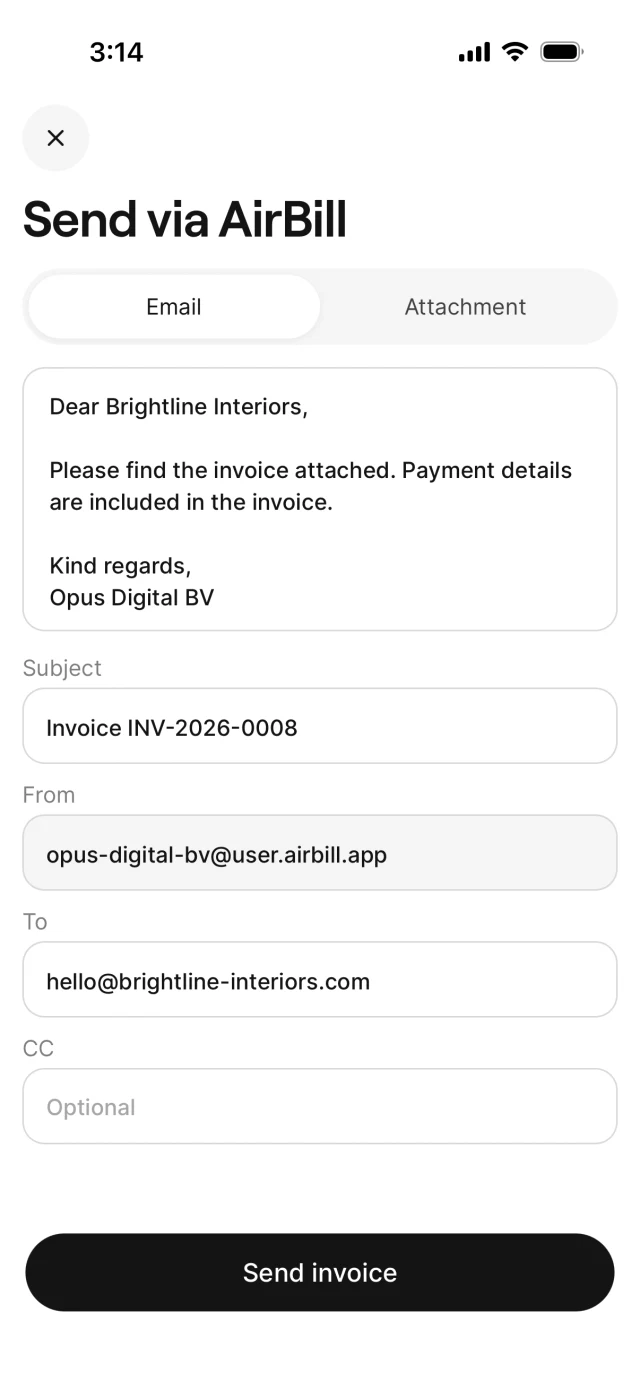
Wait for the outcome. If issuing succeeds but email delivery fails, follow the retry action on the screen instead of creating a duplicate invoice. An issued or sent status alone is not proof that the customer received the email.
Follow up
Check invoice and payment status in the list. Use the sending-options guide for your own email app or Mark as sent; these have different effects.
View the AirBill getting-started guide
Need a hand?
Get in touch with your question about AirBill. We’re happy to help.